So, how do you waste your hard earned energy purposefully? Perhaps, more importantly, why are we wasting energy to begin with? These are questions we intend to answer for you in this edition of the Evergreen Off-Grid Learn Solar blog series. Join us, and we’ll teach you how to ensure your off-grid batteries live a long and healthy life.
Why are we Wasting Energy
Ok, we aren’t actually wasting energy. As the title of this post suggests, I want you to “waste” it with a purpose. What purpose? Well that’s up to you. But the goal is to extend the life of your expensive batteries which can be damaged if they sit fully charged for too long. Besides, if you have the energy stored, why not use it?
Think about your battery bank like a spring. A 100% charged battery represents a fully compressed spring. If you leave a spring fully compressed for too long it will eventually loose its springiness. Similarly, if you keep your lithium battery bank fully charged for too long, it will loose its batteriness (I made that word up). Or, in more tangible terms, it will shorten the effective life span of your batteries.
Depending on what you plan to do with your off-grid system this might be an issue. For example, what if you only plan to use the energy periodically? Say, a cabin you visit seasonally, or the occasional football game or other social gathering at your power shed. If there are long periods between usage, you may be leaving your battery bank over charged, locking away useful energy and worse, damaging your battery bank.
Find your Purpose
So what to do? I’ve seen DIYers ask this question on various forums. How can I exercise my battery bank automatically? Where can I bleed energy from my off-grid battery bank if my power generation exceeds my energy usage?
Clearly, the best answers to this question, of which there are many, are solutions that aren’t wasteful at all. Find a purpose for that energy and do that. In my case, I like the idea of security lighting on the front of my power shed late at night. Feeding power to that light is the perfect conduit for me to bleed energy from my battery bank, purposefully.

Flexibility is Key
The beauty of this solution is in its flexibility. I can choose to turn my shed light on when I need to exercise my battery bank, but I can also choose not to if I need to conserve energy. The security lighting is nice, but it’s not critical. And with a cheap programmable timer relay, which I’ve linked below, you can program the light (or whatever you’re powering) to cycle on and off whenever you want.
Note: We earn from qualifying purchases. Using these links help Evergreen Off-Grid keep the lights on. Thank you for your support!
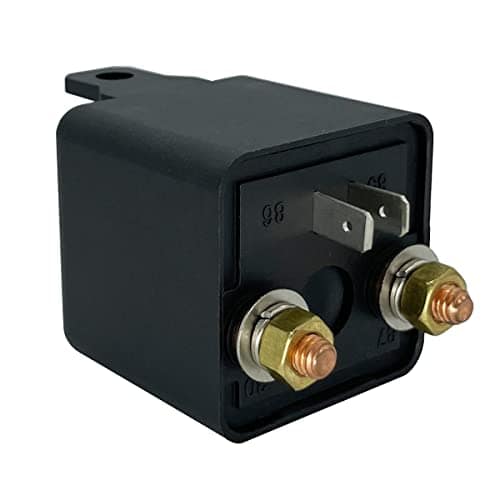
irhapsody Relay 200A, 12V 4 Pin High Current Relay
$11.99
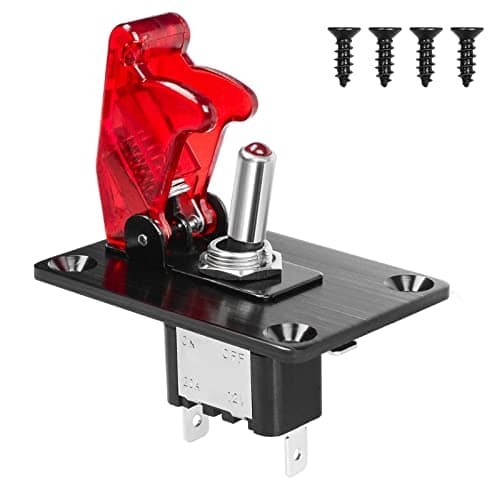
GUETNEU Two Position Toggle Power Transfer Switch
$13.99
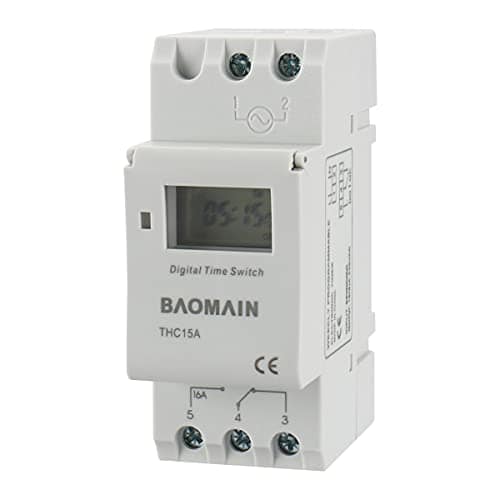
Baomain Programmable Timer Switch Relay
$12.89 Original price was: $12.89.$12.29Current price is: $12.29.
How it’s Done
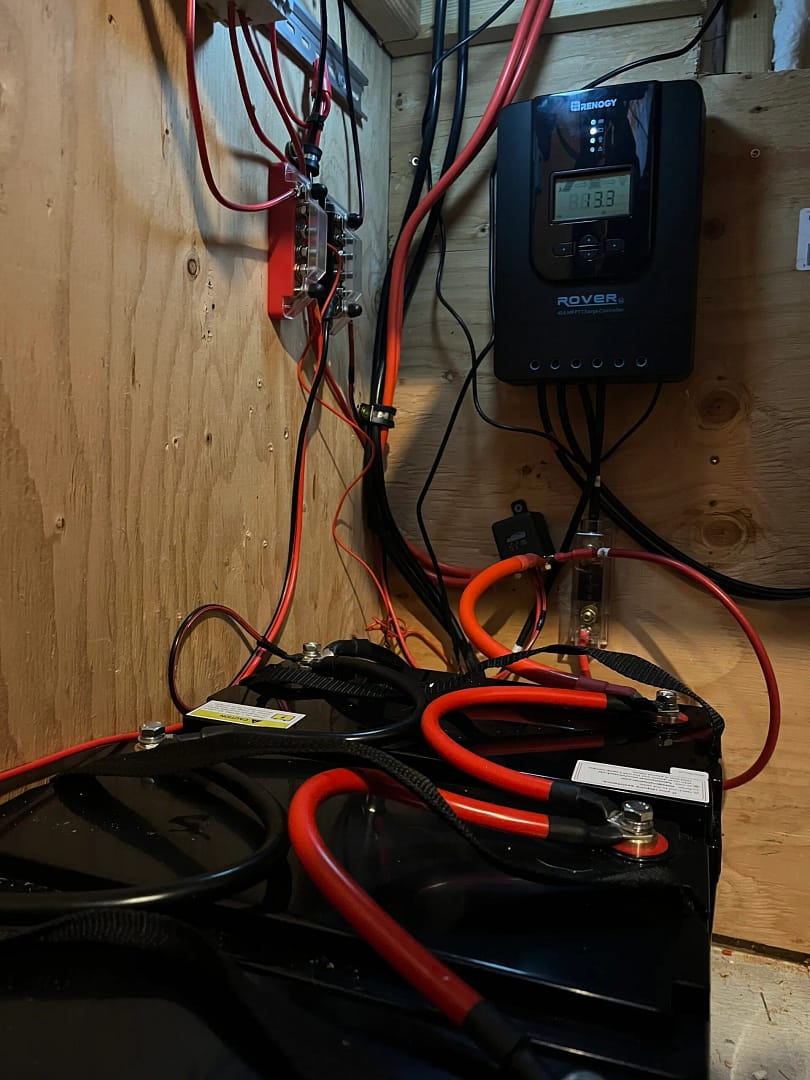
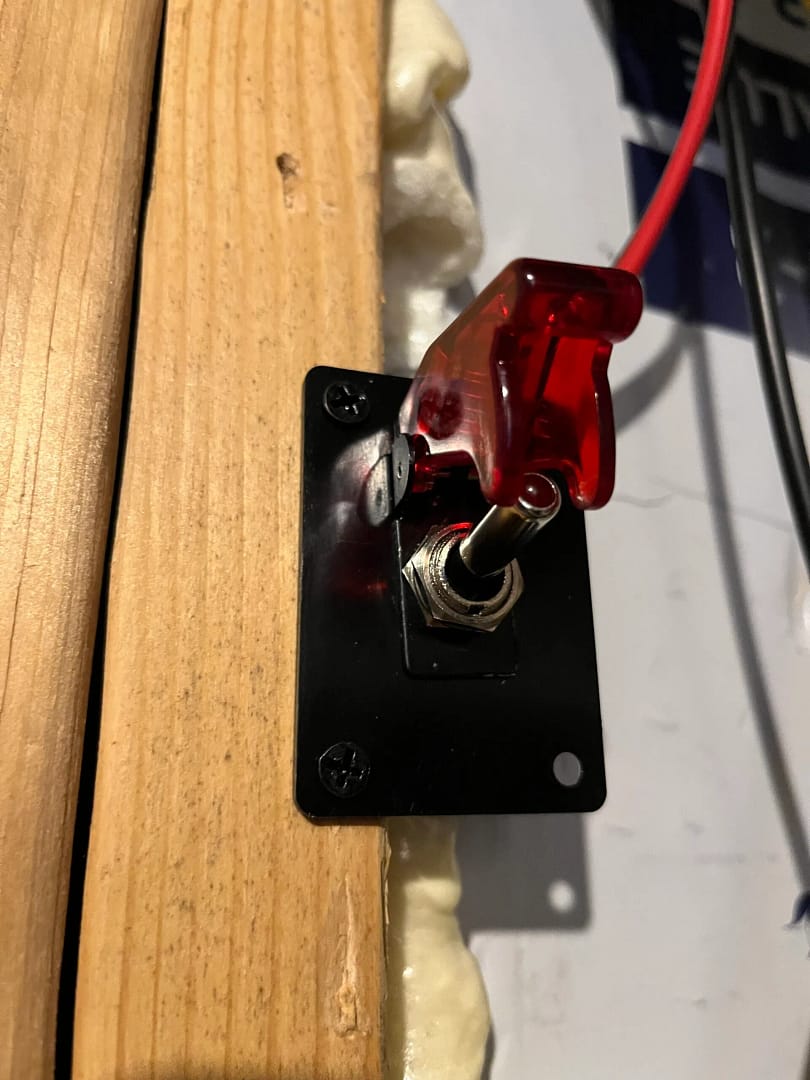
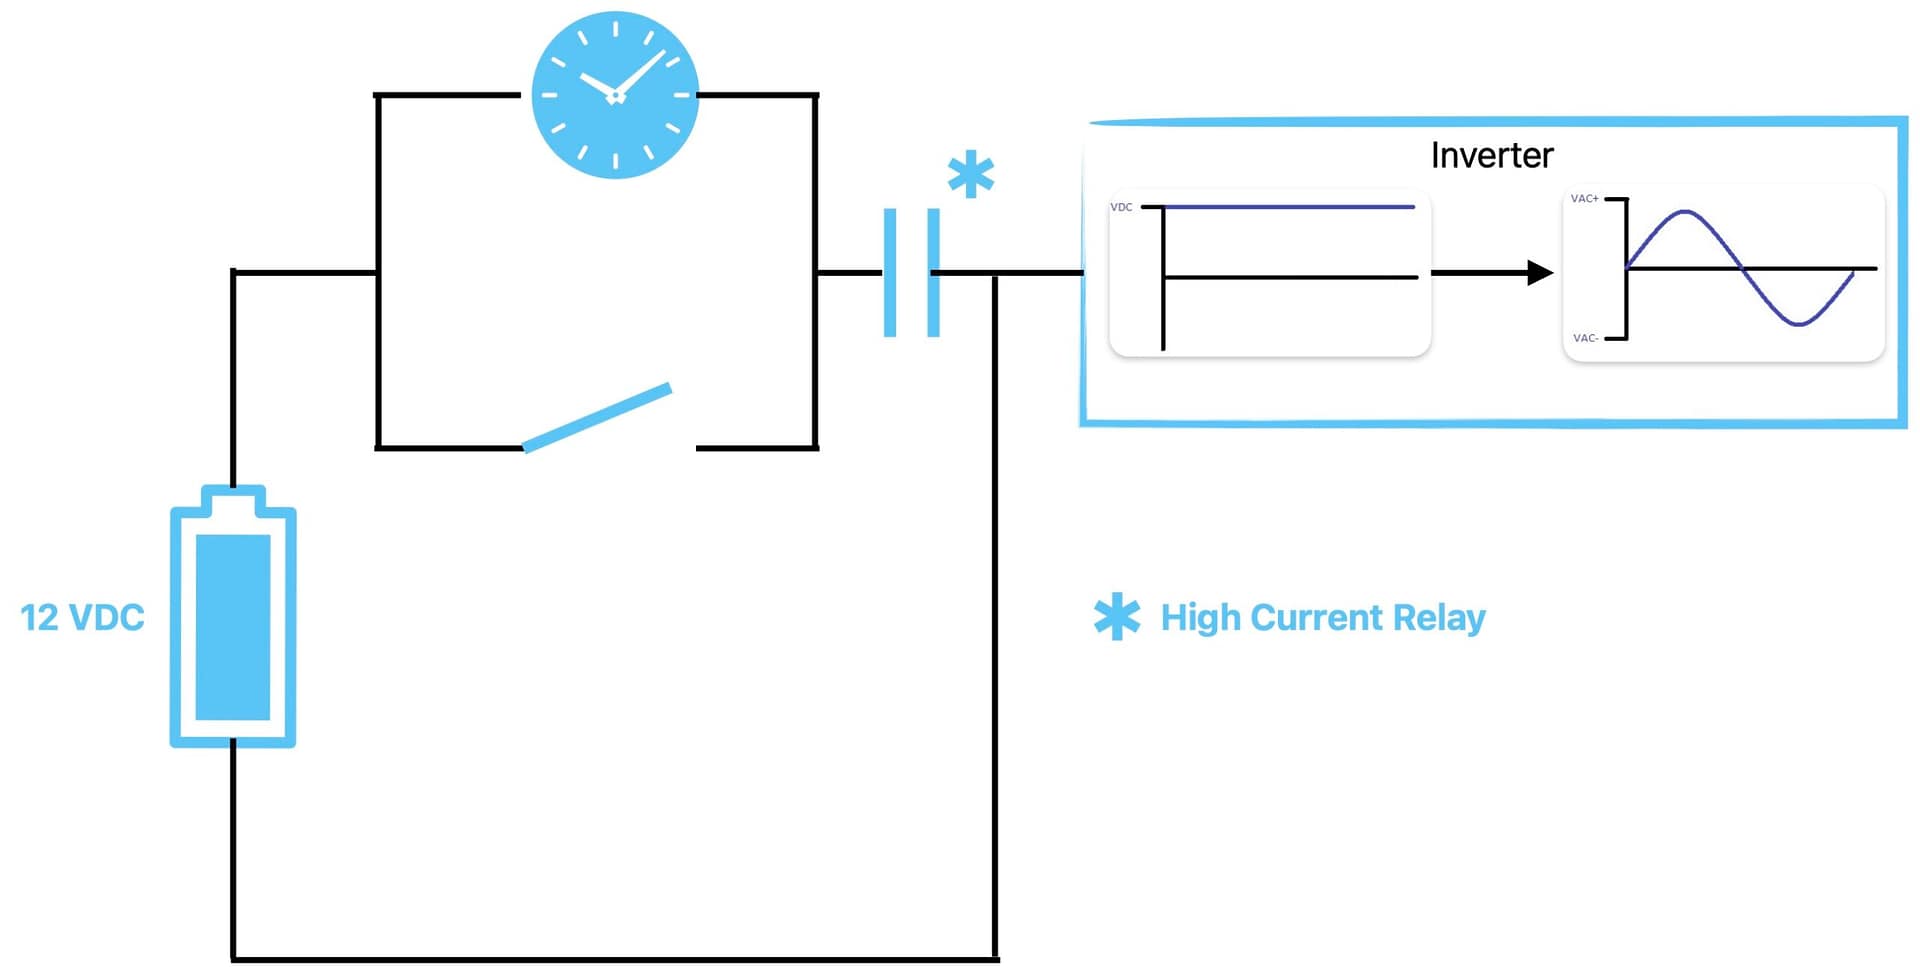
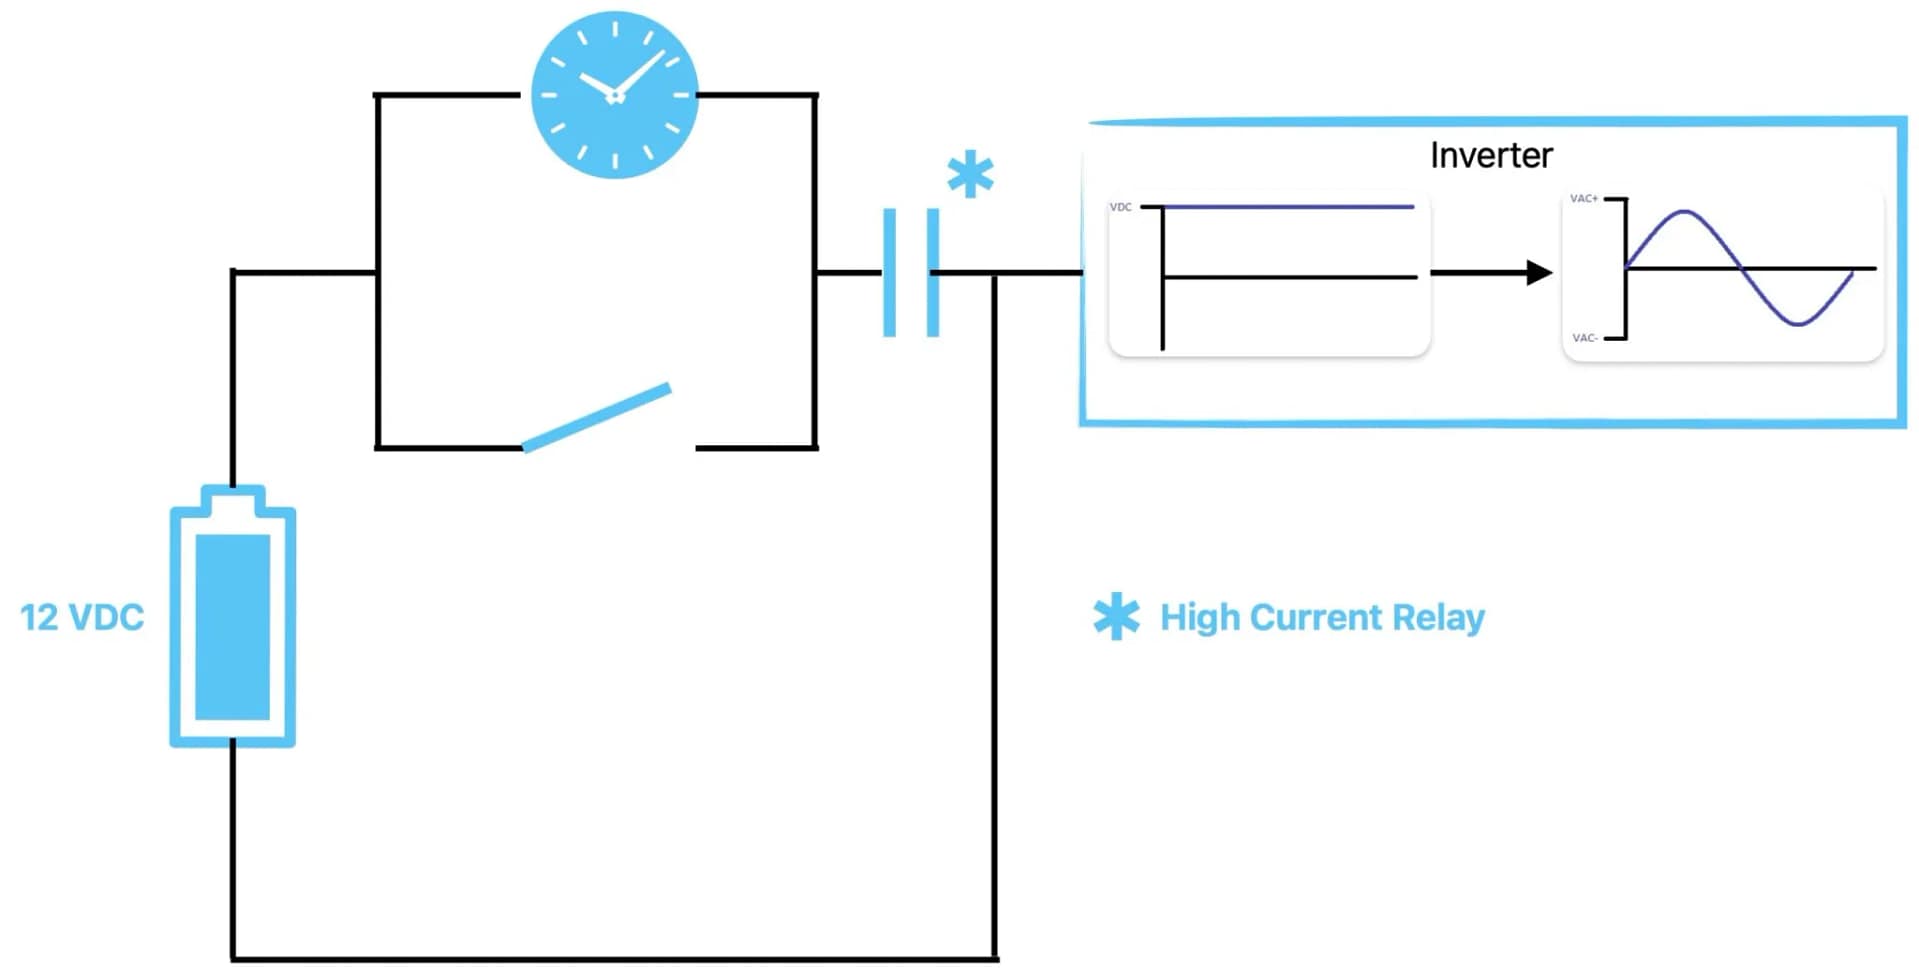
In our circuit, the high current relay is the component that ultimately determines if current can flow from your battery bank to the inverter (and then to your load). Current is permitted to flow when this relay is “energized”, which occurs when 12 volts are applied across the signal posts.
Relay “On” Conditions
To send this 12 volt signal to your relay, at least one of two conditions must be true. The relay must receive a 12 volt signal through your switch or from your timer. Components are discussed below.
One Bad Ass Switch
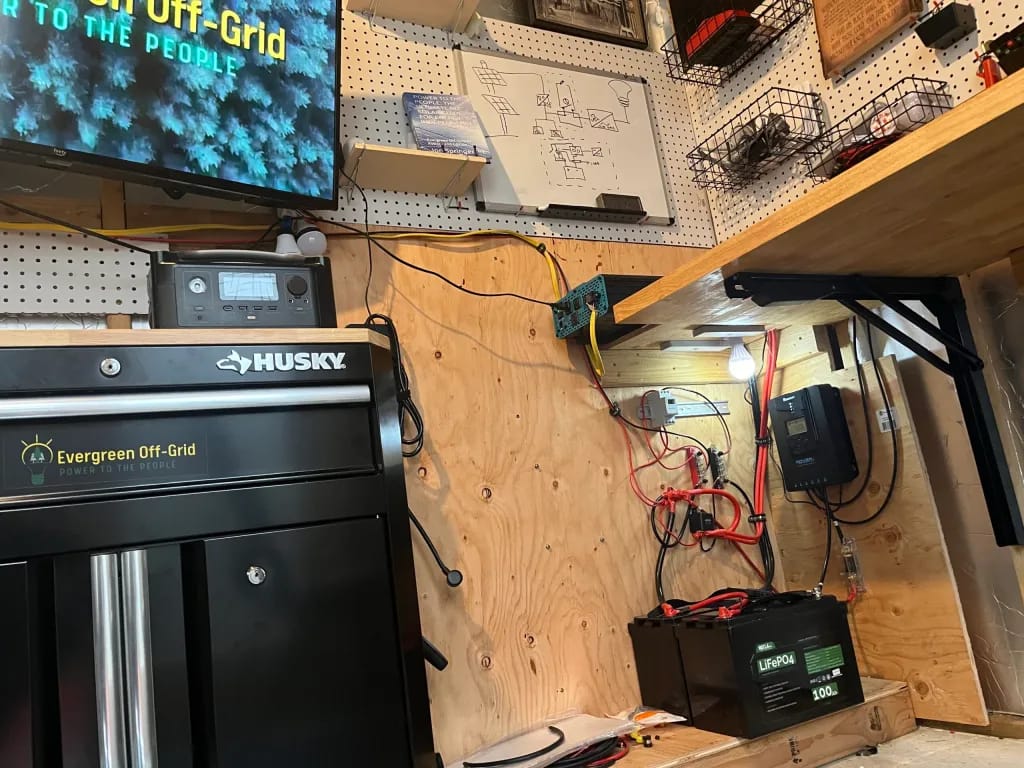
Observing the pictures above, you will notice a switch normally reserved for arming missiles and other serious tasks. But that’s not what we’re doing here. In our power shed, this switch is the override that keeps our relay energized if we want power when the programmable timer is off.
Why a bad ass switch you ask? Why not a regular rocker switch or something like that? Wrong question my friend. The correct question is why wouldn’t I use a switch that cool.
Whatever switch you use, without it you’d be at the mercy of the programmable timer. That would actually work just fine. If you want power outside of the programmed time you could switch the programmable timer from “auto” to “on” and viola! You got power!
The problem with that approach is two-fold: one, the timer isn’t a bad ass switch, and two, to energize your relay you’d have to go to the timer flip the lid and find the small button, possibly without light, and switch the device to on. The value of an override seems evident in my opinion. Thus, the addition of one bad ass switch.
Programmable Timer
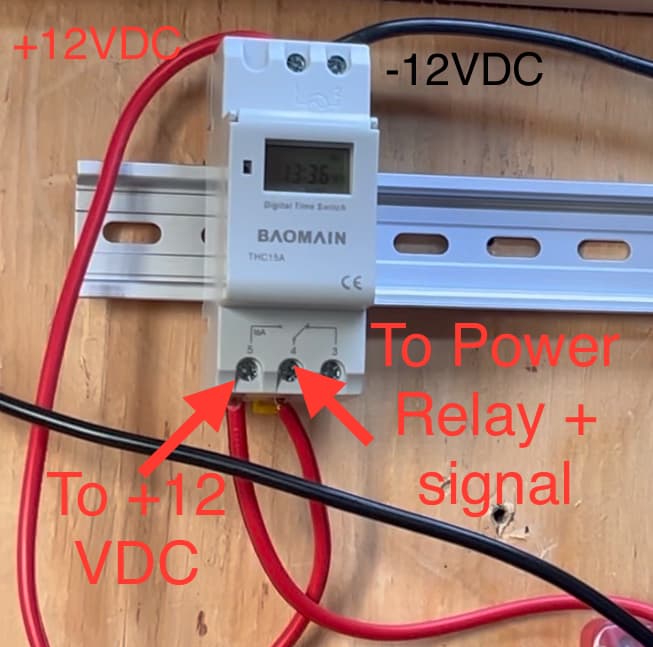
In parallel with your bad ass switch is the programmable timer. Parallel means this timer and your switch will each originate from and terminate at the same point (electrically). In this case, the origin is a positive terminal of your 12 volt battery bank and the output is the positive 12 volt signal lead on your high current relay. The +/- 12 VDC inputs located at the top of the timer provide the power signal that is applied when triggered. A simplified diagram is shown below (this is not a wiring diagram).
The Power Relay
Now that we have our switches in place, it’s time to connect them to our power relay. As we established above, the relay +12 volt signal comes from the output of both your toggle switch and the output of the programmable timer. That way a signal from either component will trigger the relay. The -12 volt signal connects to a battery bank negative terminal.
Once your signal cables are connected it’s time to connect your beefy jumper cable to a positive terminal on your battery bank and the other terminal to your inverter cable.
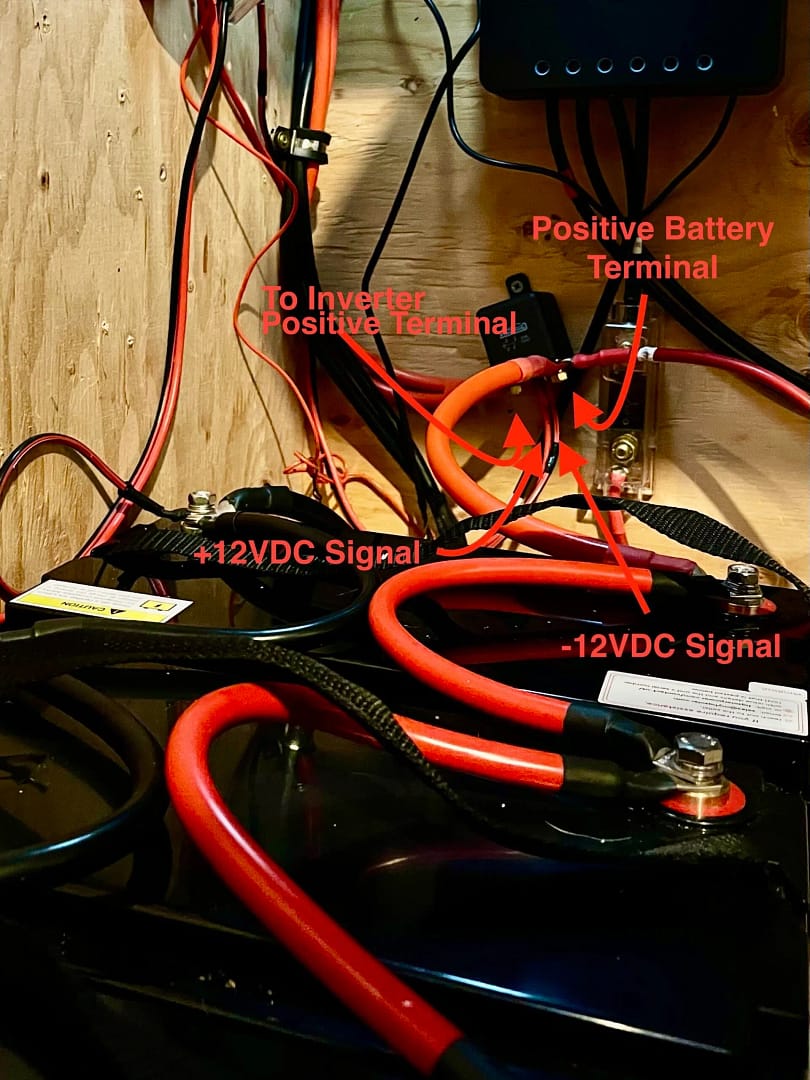
It’s important to understand the purpose of this relay. You can’t use the programmable timer or even your toggle switch to simply pass power to serve your load. If you try to feed the full amperage of your load through these devices you’ll create fire works. Rather, the point of the timer and toggle switch is to tell the high current relay that it’s ok to start passing current. Neither switch is rated for the current my system is capable of drawing and is only used for passing the a low current, 12 volt signal which tells the high current relay when its go time.
Jumper Cables
Remember, the cables connecting to the inverter and battery terminals will be carrying all of the current used to power whatever it is you are powering. So, ensure your jumper is sized large enough to carry any current it may pass. In my case, I have a 2000 watt inverter. If I supply all 2000 watts from my 12 volt battery bank, then my jumpers may continuously carry almost 170 amps. Accordingly, I sized the jumpers for my system to be 1/0 AWG.
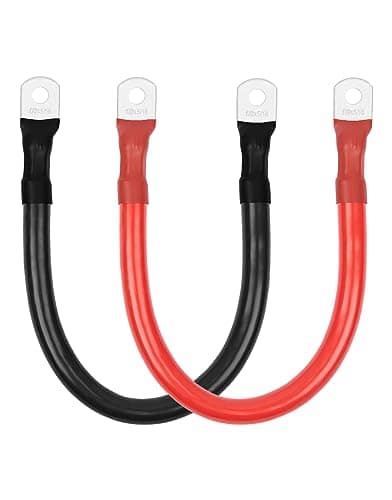
BESTEK 1/0 AWG 12 inch Pure Copper Power Inverter Cables
$24.99
Pro tip: Oversizing cables is almost always ok from a safety standpoint. The downside is it costs more. This is NOT true for protective devices such as fuses.
Circuit Demonstration Video
Other Uses for this Circuit
Of course, this circuit is useful beyond this niche off-grid application. The programmable timer is advertised for use in chicken coups. Botanical grow lights are yet another use case. Quite simply, this circuit can be used for triggering anything that requires a 12 volt signal.
Power Shed System Components
Are you building your system? Some of the primary components I currently have running the power shed system are listed below. Stay tuned for a detailed article and videos describing the Evergreen Off-Grid Power Shed.
As always, check out our store for the best deals on DIY solar equipment!
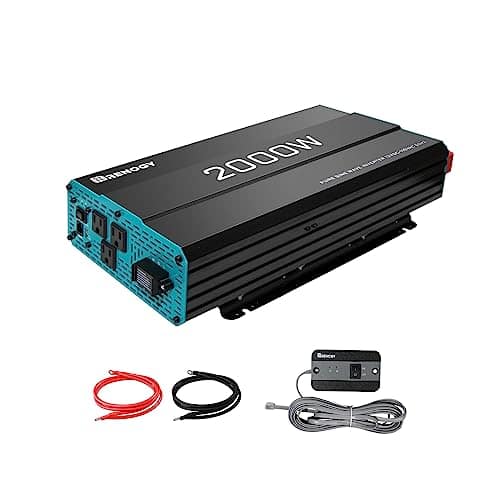
Renogy 2000W Pure Sine Wave Inverter 12V DC to 120V AC Converter
$324.66 Original price was: $324.66.$285.64Current price is: $285.64.

